Introduction
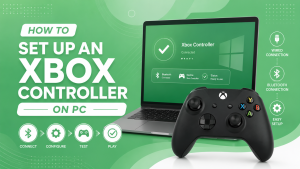
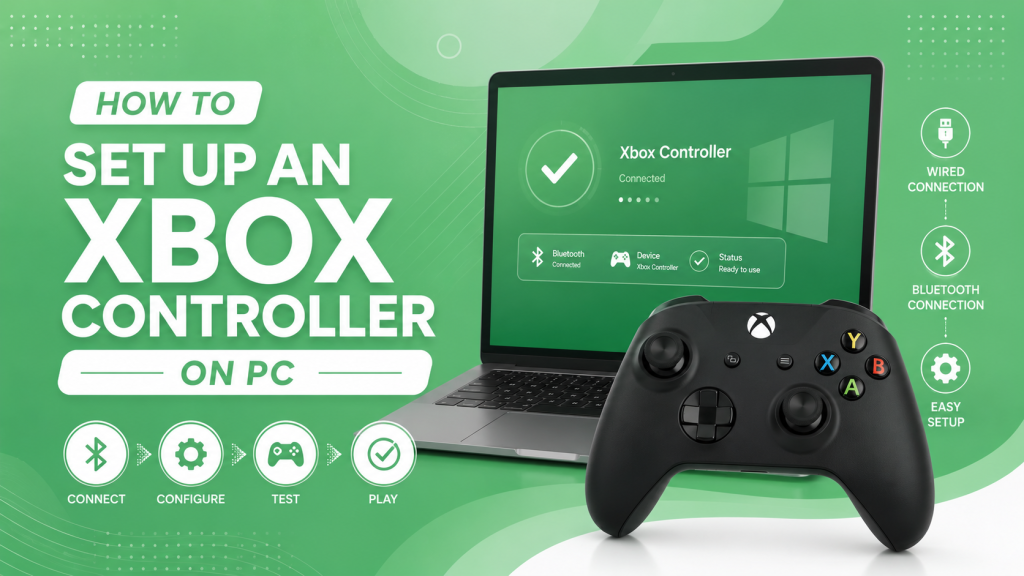
Using an Xbox controller on a Windows PC is one of the easiest ways to enjoy a comfortable gaming experience. Whether you play action games, racing titles, sports games, or platformers, an Xbox controller provides reliable performance and excellent compatibility with most modern PC games. Microsoft has designed Xbox controllers to work seamlessly with Windows, making the setup process simple for most users.
You can connect an Xbox controller to your PC in several ways, including a USB cable, Bluetooth, or the Xbox Wireless Adapter. The best method depends on your controller model and your computer’s hardware. Some older Xbox One controllers do not support Bluetooth, while newer Xbox Series X|S controllers offer all three connection options.
This guide explains how to identify your controller, prepare your PC, and connect your Xbox controller correctly. It also covers common setup problems and practical solutions so you can start gaming without unnecessary delays.
Check Which Xbox Controller You Have
Before connecting your controller, you should identify its model. Different Xbox controllers support different connection methods, and knowing which version you own will help you choose the fastest and most reliable setup option.
Microsoft has released several Xbox controller models over the years. While they may look similar, their wireless capabilities and compatibility can vary.
| Controller Model | USB | Bluetooth | Xbox Wireless Adapter |
|---|---|---|---|
| Xbox One (Original) | ✔ | ✘ | ✔ |
| Xbox One S | ✔ | ✔ | ✔ |
| Xbox One X | ✔ | ✔ | ✔ |
| Xbox Series X Controller | ✔ | ✔ | ✔ |
| Xbox Series S Controller | ✔ | ✔ | ✔ |
Choosing the correct connection method from the beginning helps prevent pairing issues and unnecessary troubleshooting later.
Xbox Series X|S vs Xbox One Controllers
The Xbox Series X and Xbox Series S controllers include several improvements over previous Xbox One controllers. They feature a redesigned D-pad, improved grip texture, lower wireless latency, and better Bluetooth performance.
Most Xbox One S and newer controllers support Bluetooth, allowing them to connect directly to Windows laptops and desktops with built-in Bluetooth. However, the original Xbox One controller does not include Bluetooth support and requires either a USB cable or the Xbox Wireless Adapter.
A quick way to identify your controller is by looking at the area around the Xbox button. If the plastic surrounding the Xbox logo is part of the controller’s front face, it usually supports Bluetooth. Older controllers often have a separate glossy plastic section around the Xbox button, indicating that Bluetooth is not available.
Connection Methods Supported by Your Controller
Modern Xbox controllers offer multiple connection options, giving you flexibility based on your PC setup.
USB Cable
A wired USB connection is the easiest and most stable option. Simply connect the controller with a compatible USB cable, and Windows will usually install the required drivers automatically. Wired connections also eliminate battery concerns and reduce input latency.
Bluetooth
Bluetooth provides a wireless gaming experience without requiring additional hardware. This option works best if both your controller and your PC support Bluetooth.
Xbox Wireless Adapter
The Xbox Wireless Adapter uses Microsoft’s proprietary wireless technology. It generally provides a more stable connection than Bluetooth, supports multiple controllers simultaneously, and includes features such as headset audio support that may not be available over Bluetooth.
Prepare Your PC Before Setup
Preparing your computer before connecting the controller helps avoid driver conflicts and connection problems. A few quick checks can save time during installation.
Make sure your Windows installation is fully up to date, verify that your PC supports the chosen connection method, and install any recommended firmware updates for the controller.
Check Windows and Bluetooth Compatibility
Most Xbox controllers work best with Windows 10 and Windows 11. Older Windows versions may require additional updates or may not support newer controller features.
If you plan to use Bluetooth, first confirm that your PC includes Bluetooth hardware. Many laptops have Bluetooth built in, while some desktop computers require a Bluetooth adapter.
You can check Bluetooth availability by opening Settings > Bluetooth & devices. If Bluetooth appears in the menu, your PC is ready for wireless pairing.
Before starting the setup, confirm the following:
- Windows is fully updated.
- Bluetooth is enabled if you plan to connect wirelessly.
- Your controller has sufficient battery power.
- USB ports are functioning correctly if using a wired connection.
Completing these checks reduces the chances of setup failures.
Update Windows and Controller Firmware
Keeping both Windows and your controller firmware up to date ensures optimal compatibility and performance.
Windows updates often include improved drivers for Xbox accessories, while controller firmware updates may fix connectivity bugs, improve Bluetooth stability, and enhance overall responsiveness.
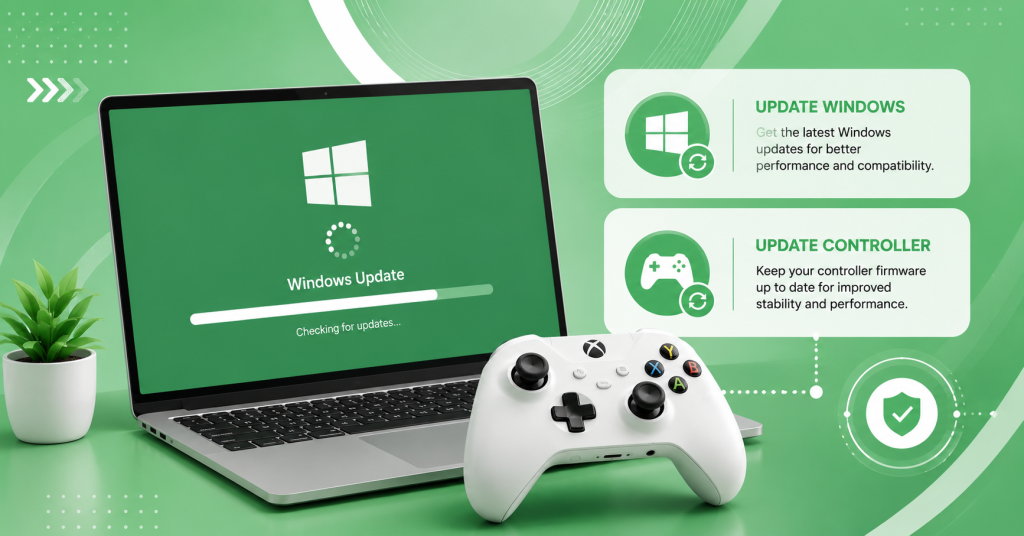
To update your controller firmware:
- Install the Xbox Accessories app from the Microsoft Store.
- Connect the controller using a USB cable or the Xbox Wireless Adapter.
- Open the Xbox Accessories app.
- If a firmware update is available, follow the on-screen instructions.
- Wait until the update completes before disconnecting the controller.
Updating the firmware before gaming helps prevent unexpected connection issues and improves long-term reliability.
Set Up an Xbox Controller Using a USB Cable
Connecting an Xbox controller with a USB cable is the quickest and most reliable setup method. It requires no pairing process, works with virtually every Windows PC, and provides a stable connection with minimal input delay.
A wired connection is particularly useful for competitive gaming, extended play sessions, or situations where wireless interference may be a problem.
Connect the Controller with USB
Start by using a compatible USB cable. Depending on your controller model, this may be a USB-C cable or a Micro-USB cable.
Connect one end of the cable to the controller and the other end to an available USB port on your PC.
Windows should automatically detect the controller and install any necessary drivers. Within a few moments, the Xbox button on the controller should remain steadily lit, indicating that the connection has been established successfully.
If Windows displays a notification that the device is ready, your controller is successfully connected and can be used immediately in most games.
Verify the Controller in Windows
After connecting the controller, verify that Windows recognizes it correctly.
Open Settings > Bluetooth & devices > Devices or launch the Xbox Accessories app. If the controller appears in the device list, Windows has successfully detected it.
You can also test the controller by opening a game or using the Windows Game Controllers settings. Press each button, move both analog sticks, and test the triggers to ensure all inputs are working correctly.
Testing the controller before starting a game helps identify any hardware or driver issues early.
Fix Common USB Connection Issues
If the controller is not detected after connecting it with a USB cable, don’t worry. Most USB connection problems can be solved with a few simple troubleshooting steps.
First, disconnect the controller and reconnect it using a different USB port. Faulty USB ports or loose connections are common causes of detection issues.
Next, inspect the USB cable. Some cables are designed only for charging and cannot transfer data. If your controller powers on but Windows does not recognize it, try using a high-quality data cable.
If the issue continues:
- Restart your computer.
- Update Windows to the latest version.
- Reinstall the controller drivers through Device Manager.
- Try another USB cable.
- Connect the controller to another PC to determine whether the issue is with the controller or the computer.
In most cases, these steps resolve USB connection problems quickly, allowing you to continue gaming without further interruptions.
Set Up an Xbox Controller via Bluetooth
Bluetooth is a convenient way to use your Xbox controller without cables. It allows you to enjoy wireless gaming while keeping your setup clean and clutter-free. Most Xbox One S, Xbox One X, and Xbox Series X|S controllers support Bluetooth, making them easy to pair with Windows 10 and Windows 11 PCs.
Before pairing, make sure your controller has enough battery power, and your PC’s Bluetooth is turned on. Keeping the controller close to your computer during the pairing process can also improve connection reliability.
Pair the Controller with Windows
Start by opening Settings > Bluetooth & devices on your Windows PC and turn Bluetooth on if it is disabled.
Press and hold the Xbox button to turn on the controller. Then press and hold the Pair button on the top of the controller for a few seconds until the Xbox button begins flashing rapidly. This indicates that the controller is in pairing mode.
On your PC, click Add Device, choose Bluetooth, and wait for the Xbox Wireless Controller to appear in the list. Select it to complete the pairing process.
Once connected, the Xbox button will stop flashing and remain steadily lit. You can now launch your favorite game and start playing wirelessly.
Fix Bluetooth Pairing Problems
If the controller doesn’t connect, there are several simple fixes you can try.
Make sure Bluetooth is enabled and that your PC supports Bluetooth 4.0 or later. Restarting both the controller and your computer often resolves temporary pairing issues.
If the controller was previously paired with another device, remove it from that device or delete the existing Bluetooth connection from Windows before pairing again.
Other useful troubleshooting steps include:
- Replace low batteries or recharge the controller.
- Move closer to the PC during pairing.
- Remove nearby wireless interference.
- Update Windows and controller firmware.
- Restart the Bluetooth service if necessary.
Most Bluetooth problems are solved by removing the old pairing information and then reconnecting the controller.
Set Up an Xbox Controller with the Xbox Wireless Adapter
The Xbox Wireless Adapter provides another wireless connection option for Windows PCs. Unlike Bluetooth, it uses Microsoft’s dedicated wireless technology, offering a stronger connection and additional controller features.
It is especially useful for desktop computers without Bluetooth or gamers who want the most reliable wireless performance.
Connect and Pair the Wireless Adapter
Insert the Xbox Wireless Adapter into an available USB port on your computer. Windows will usually install the required drivers automatically within a few seconds.
Next, press the button on the adapter until its light starts blinking.
Turn on your Xbox controller and press the Pair button until the Xbox logo begins flashing. After a few moments, both lights will become steady, confirming that the controller has successfully connected.
The controller is now ready for gaming without requiring Bluetooth.
When to Use the Xbox Wireless Adapter
Although Bluetooth works well for most users, the Xbox Wireless Adapter offers several advantages.
It supports multiple Xbox controllers simultaneously, provides lower wireless latency in many situations, and allows compatible Xbox wireless headsets to function alongside the controller.
The adapter is recommended if you:
- Play competitive games.
- Own multiple Xbox controllers.
- Experience Bluetooth connection issues.
- Use a desktop PC without built-in Bluetooth.
- Want the most stable wireless connection.
For serious PC gamers, the Xbox Wireless Adapter is often the best wireless solution.
Configure Your Xbox Controller on PC
After connecting your controller, it’s worth spending a few minutes configuring it for the best gaming experience.
Windows includes useful tools that allow you to customize buttons, update firmware, and verify that everything is working correctly.
Use the Xbox Accessories App
The Xbox Accessories app is Microsoft’s official software for managing Xbox controllers on Windows.
After installing the app from the Microsoft Store, connect your controller and launch the application. The app automatically detects supported controllers and displays available settings.
Using the app, you can:
- Check controller status.
- Test button inputs.
- Create custom controller profiles.
- Update firmware.
- Restore default settings if needed.
The app is simple to use and helps keep your controller running smoothly.
Remap Buttons and Update Firmware
Some games feel more comfortable with customized controls. The Xbox Accessories app lets you remap supported buttons to better suit your play style.
For example, you can swap trigger functions, adjust stick behavior, or create different profiles for racing games, shooters, and sports titles.
While using the app, always check for firmware updates. Installing the latest firmware can improve compatibility, fix bugs, and enhance wireless performance.
Saving custom profiles also makes it easy to switch between different gaming setups without repeating the configuration process.
Troubleshoot Xbox Controller Setup Issues
Even though Xbox controllers are designed to work seamlessly with Windows, occasional problems can still occur. Fortunately, most issues can be fixed in just a few minutes.
Controller Not Connecting
If your controller doesn’t connect at all, begin with the basics.
Make sure the controller is charged, verify that Bluetooth or the Wireless Adapter is functioning correctly, and restart both the controller and your PC.
If you’re using a USB cable, try another cable or USB port.
Updating Windows and controller firmware also resolves many connection issues.
Controller Connected but Not Working
Sometimes Windows detects the controller, but games fail to respond.
In this situation:
- Restart the game.
- Disconnect and reconnect the controller.
- Open the Xbox Accessories app to verify button inputs.
- Check whether the game supports controllers.
- Update the game if necessary.
Some older PC games require controller support to be enabled in their settings before the controller becomes active.
Input Lag or Random Disconnects
Wireless interference, outdated firmware, or weak batteries are common causes of lag and unexpected disconnects.
For the best performance:
- Keep the controller firmware updated.
- Replace low batteries.
- Stay within Bluetooth range.
- Close unnecessary background applications.
- Use a USB cable or Xbox Wireless Adapter for competitive gaming.
A stable connection helps reduce input delay and provides a smoother gaming experience.
Conclusion
Setting up an Xbox controller on PC is a simple process that can greatly improve your gaming experience with better comfort, precision, and control. Whether you connect through USB, Bluetooth, or a wireless adapter, proper driver installation and configuration ensure smooth performance across compatible games.
For advanced controller support and virtual gamepad setups, ViGEmBus provides essential driver functionality used by many controller tools and emulation solutions. At vigembus, you can find useful guides, setup instructions, and troubleshooting resources to help configure controllers, fix connection issues, and get the best possible gaming experience on PC.
Frequently Asked Questions
How do I know if my Xbox controller has Bluetooth?
Most Xbox One S, Xbox One X, and Xbox Series X|S controllers include Bluetooth support. If the plastic surrounding the Xbox button is part of the controller’s front shell instead of a separate glossy section, it usually supports Bluetooth.
Can I use an Xbox controller without Bluetooth?
Yes. You can connect it using a USB cable or the Xbox Wireless Adapter. Both methods provide reliable connections and work well for PC gaming.
Why is my Xbox controller not connecting to my PC?
Common causes include outdated firmware, disabled Bluetooth, weak batteries, faulty USB cables, or incorrect pairing. Restarting the controller, updating Windows, and reconnecting the device usually solve the problem.
Do I need the Xbox Accessories app?
The Xbox Accessories app is not required for basic gameplay, but it is highly recommended. It allows you to update firmware, test controller inputs, remap buttons, and create custom controller profiles.
Latest Posts: